
Connecting to the virtual classroom
All Zinkerz classes take place in the Virtual Classroom. Here is everything you need to know to connect, manage students, and handle issues during a session.
1. Joining the classroom
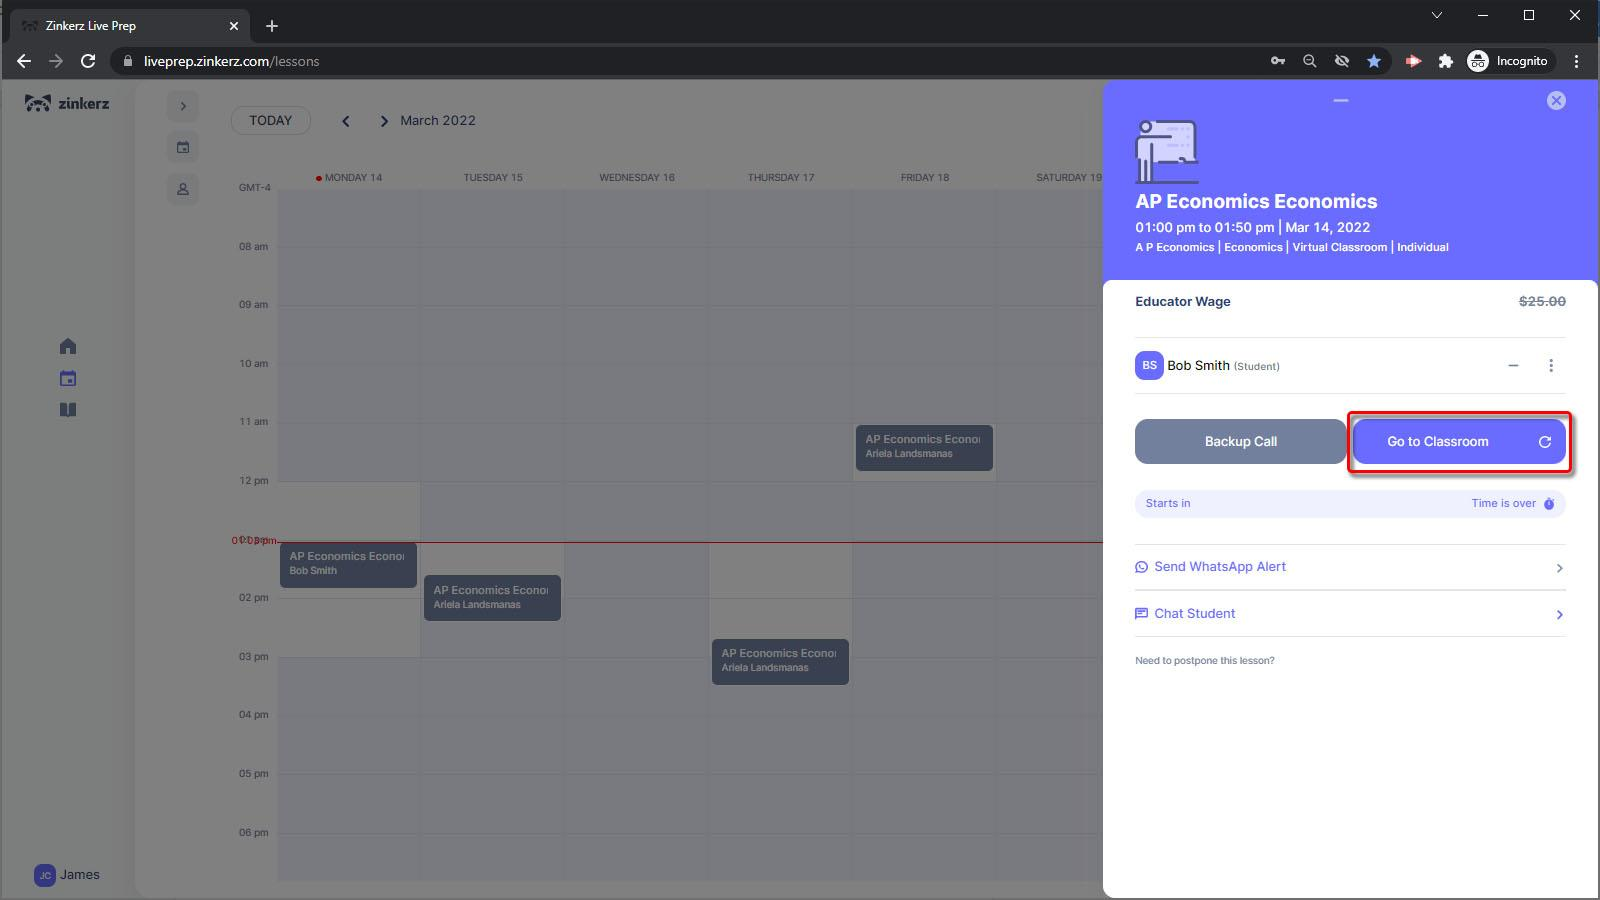
Go to your LivePrep Calendar and click on the lesson.
Click Go to Classroom. If nothing happens, click the reset button to its right and try again.
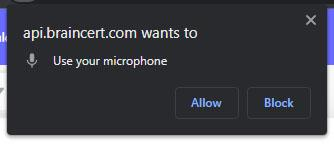
Allow the site to access your microphone and camera when prompted.
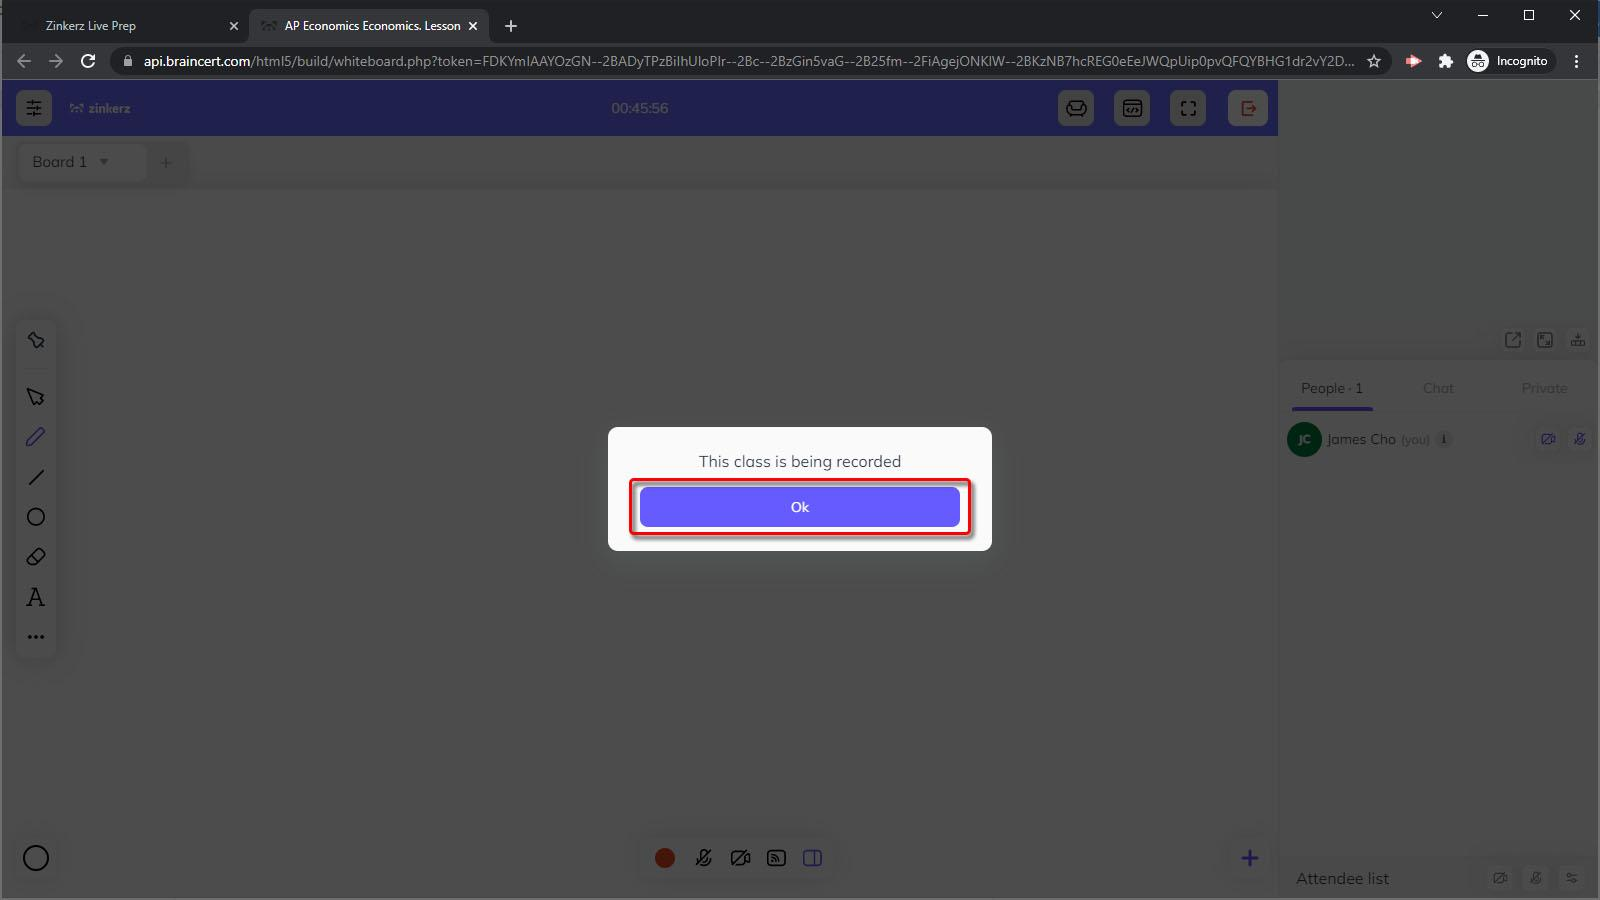
If you see a recording notification, click Ok. All sessions are recorded for student review.
Important: Virtual Classroom links change for every class. Do not bookmark them — always enter from your LivePrep Calendar. Your classroom is available 10 minutes before class starts.
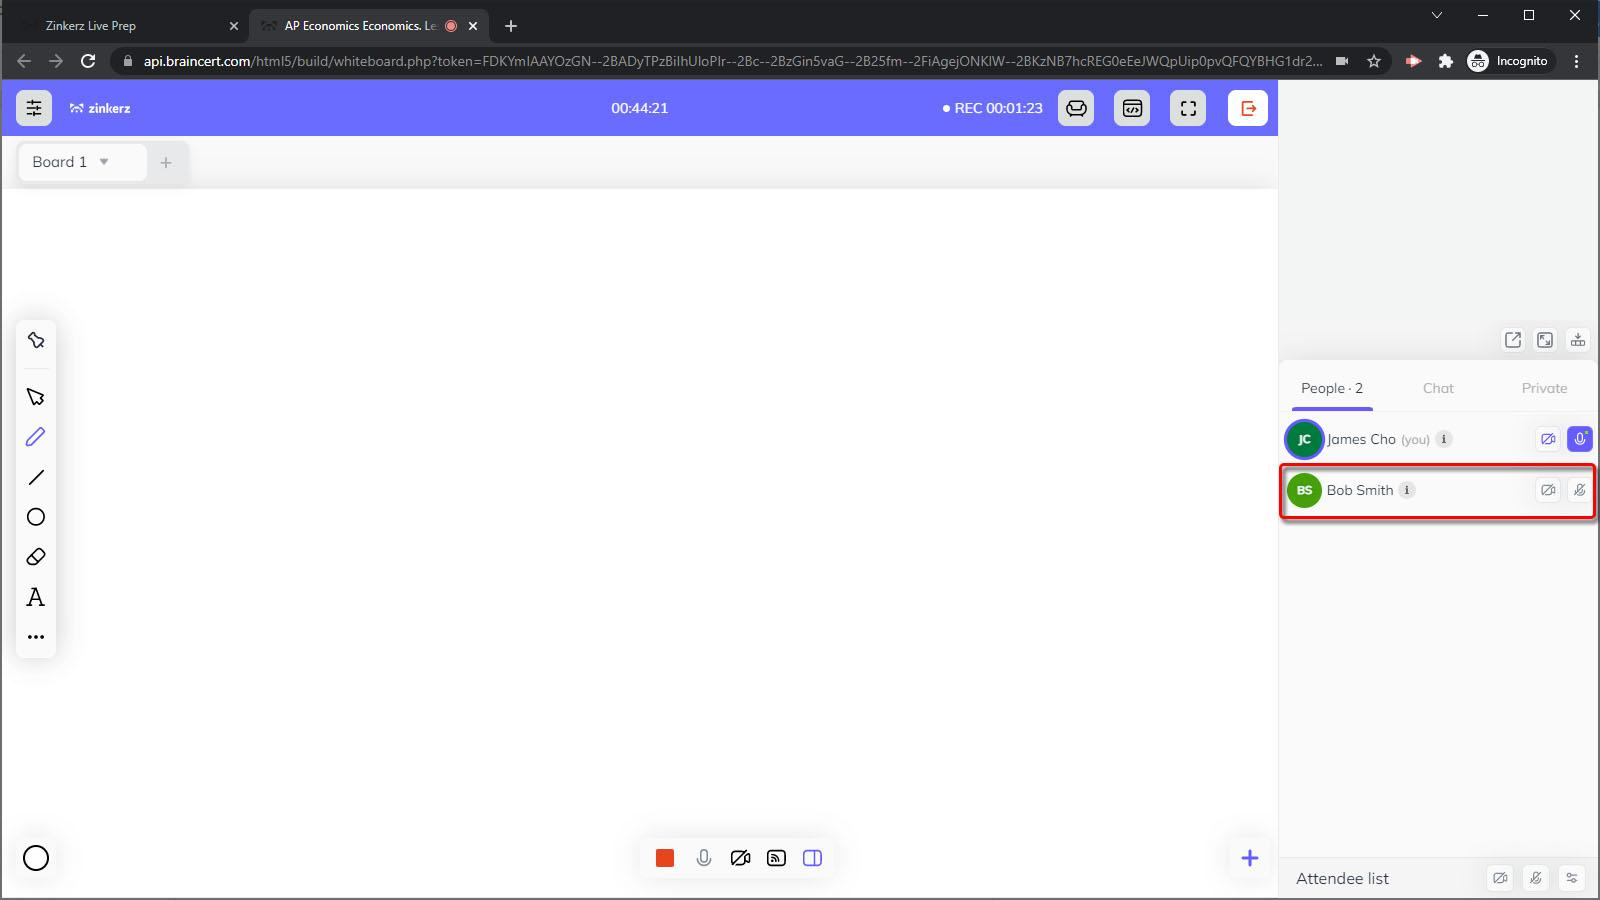
2. Enabling audio
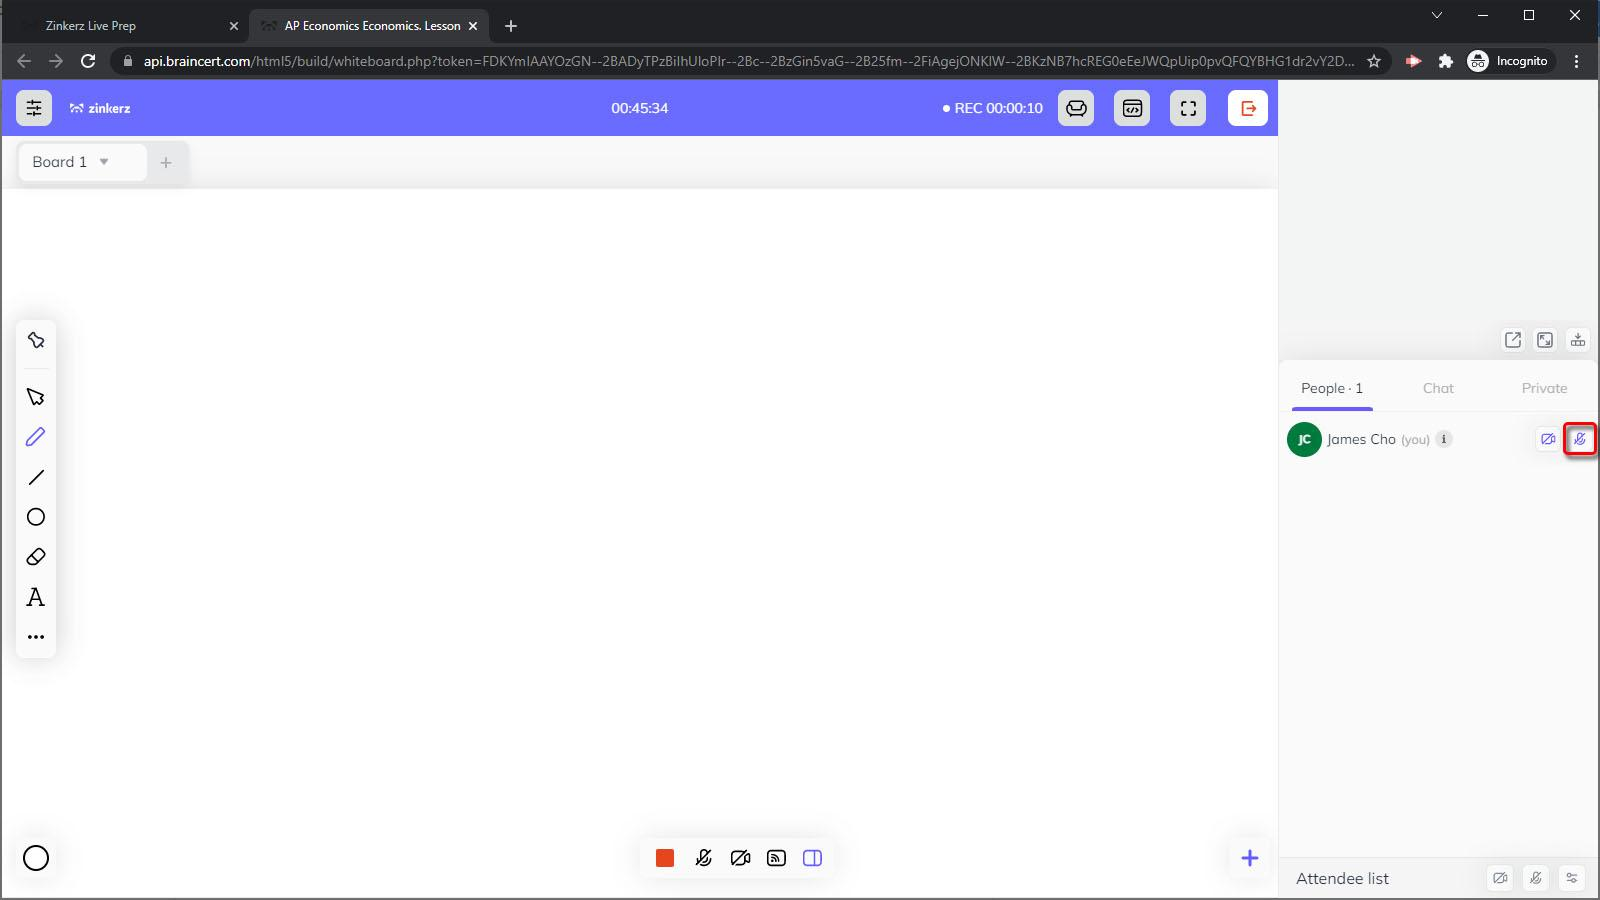
Your microphone is off by default. Enable it immediately by clicking the microphone icon next to your name in the Attendee List. Click a student's microphone icon to enable their audio. For group classes, keep student microphones off during lectures and use the chat box for questions.
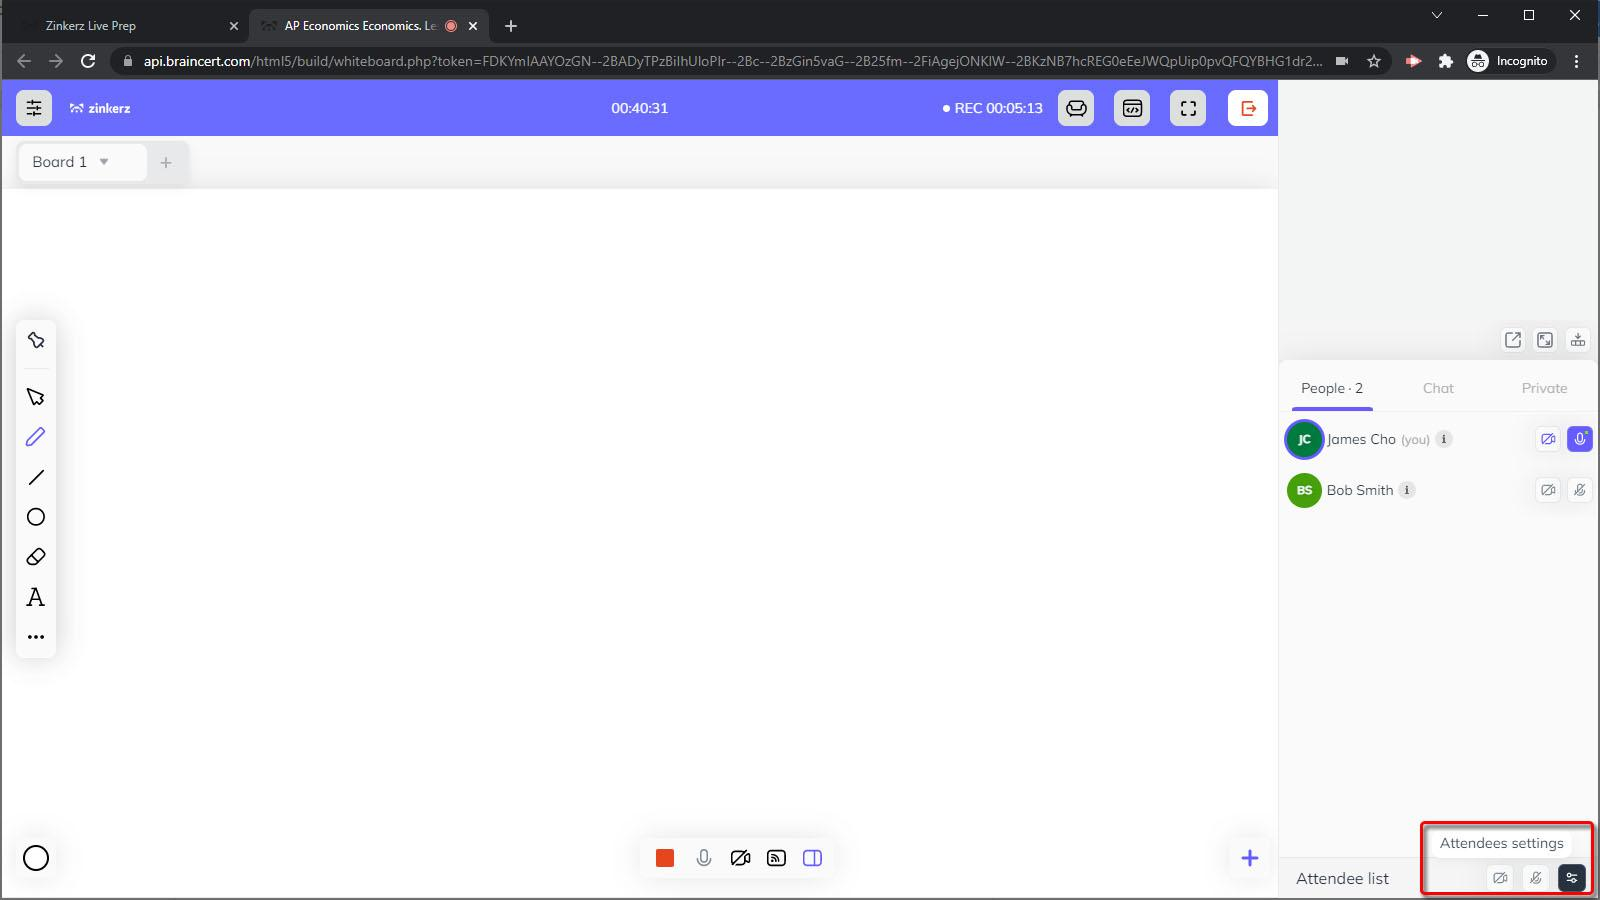
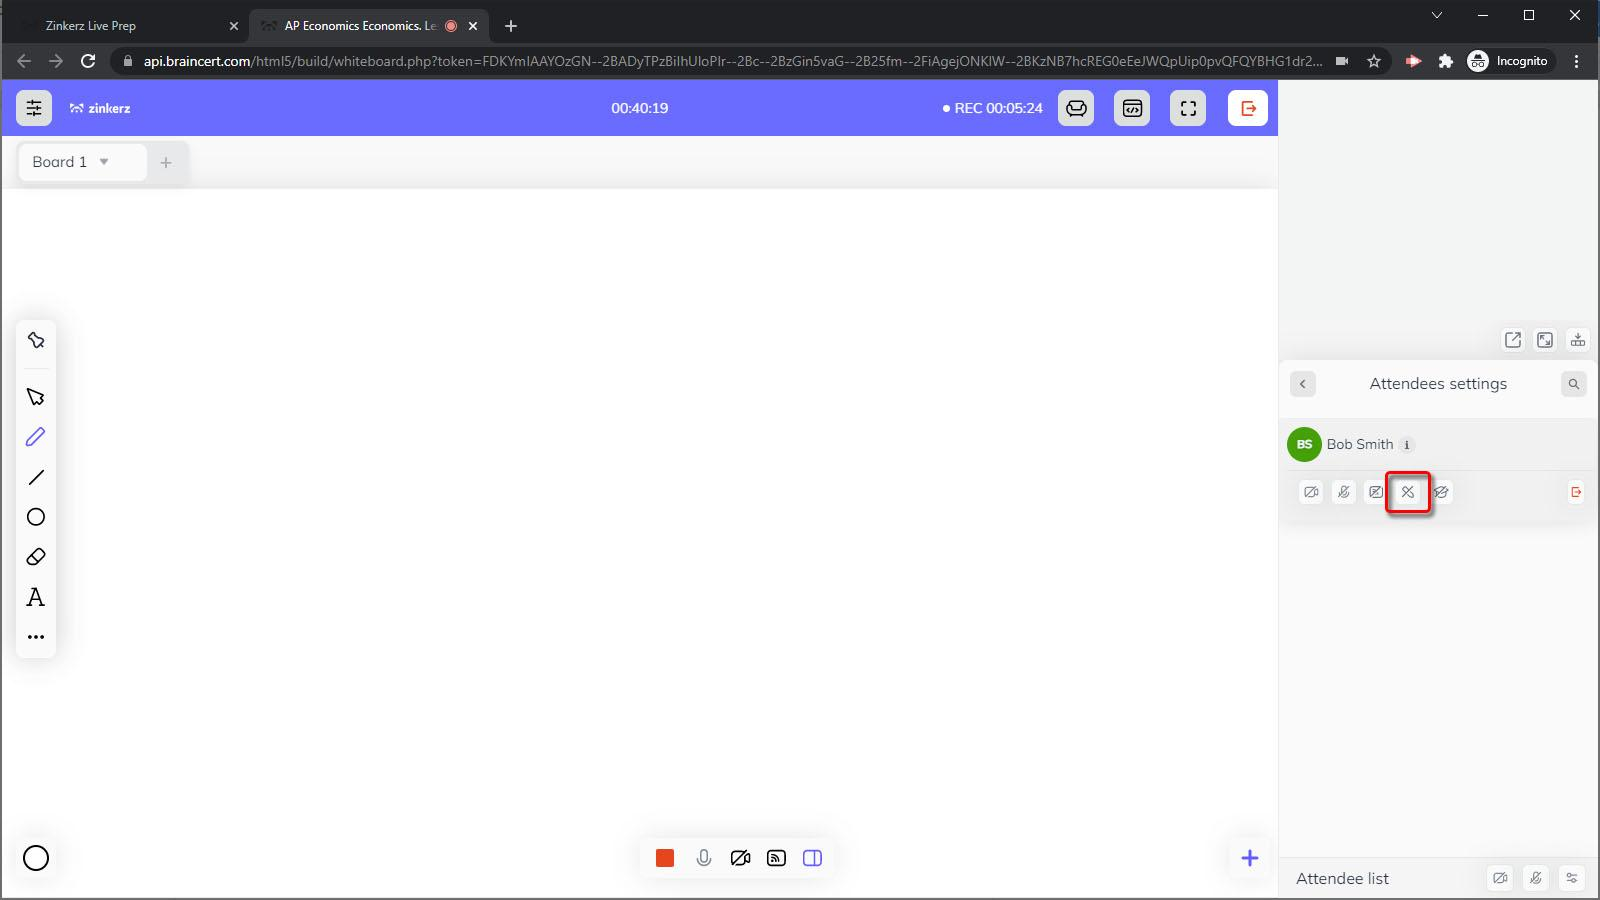
3. Granting board access to students
Students cannot draw on the board by default.
Click Attendee settings in the lower right.
Click the pencil icon next to the student's name.
4. Sharing materials
Upload files — click the purple plus-sign button in the bottom right corner.
Share your screen — use the Share Screen option in the bottom middle toolbar.
Chat box — send links or messages, especially when student microphones are off.
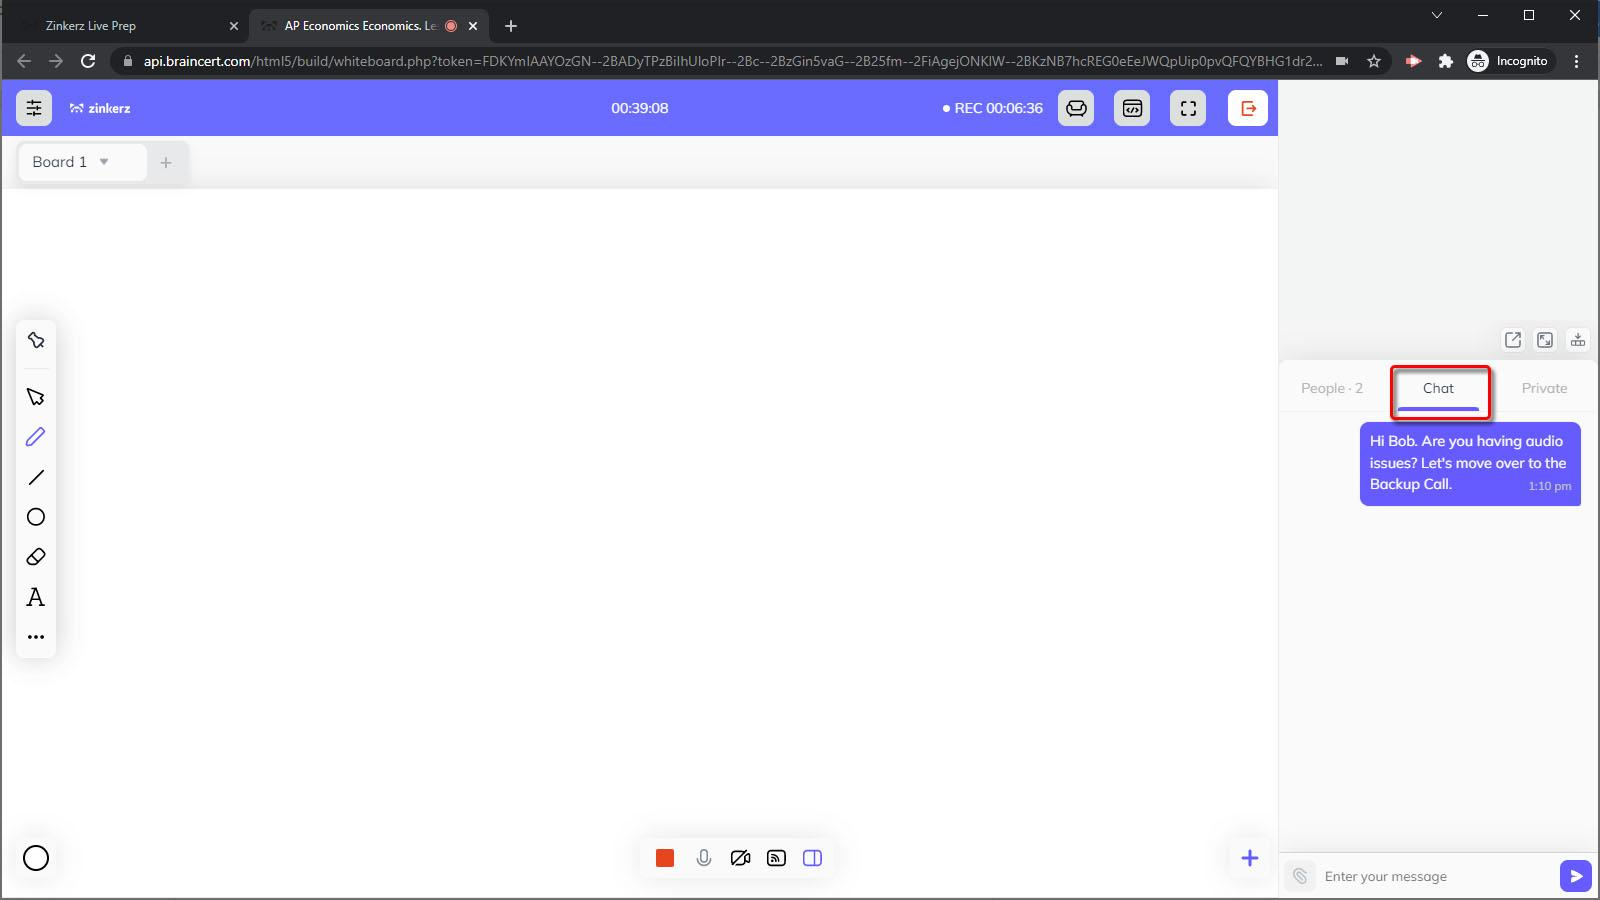
5. Audio issues — switching to Backup Call
From your LivePrep Calendar, open the lesson popup and click Backup Call.
Copy the Google Meet link and paste it into the Virtual Classroom chat.
Once everyone joins Google Meet, mute the Virtual Classroom microphone (top toolbar) to prevent echo.
Continue class in the Virtual Classroom — use Google Meet for audio only.
6. Extending the session
A popup will appear 5 minutes before the scheduled end time. You can extend as many times as needed.
